一图五抠(抠图的精典教程1)
<DIV class=c id=p_tpc></DIV>
<DIV class=tpc_content id=read_tpc>先贴原图<BR><B></B><BR><IMG onclick="if(this.width>=700) window.open('http://www.yxghost.cn/attachment/25_901_0fb009c235ab233.jpg');" src="http://www.yxghost.cn/attachment/25_901_0fb009c235ab233.jpg" onload="if(this.width>'700')this.width='700';if(this.height>'700')this.height='700';" border=0><BR>先用钢笔或套索工具勾出人物的主体部分,做的时候一定要注意,蚂蚁线不要太到边缘,更不能外出,否则扣出来的效果是不理想的。<BR><B></B><BR><IMG onclick="if(this.width>=700) window.open('http://www.yxghost.cn/attachment/25_901_f56d49d154e07c9.jpg');" src="http://www.yxghost.cn/attachment/25_901_f56d49d154e07c9.jpg" onload="if(this.width>'700')this.width='700';if(this.height>'700')this.height='700';" border=0><BR> 然后进行羽化,羽化的作用是使边缘柔和,不会显得生硬。<BR><B></B><BR><IMG onclick="if(this.width>=700) window.open('http://www.yxghost.cn/attachment/25_901_87c7966a9af4bfb.jpg');" src="http://www.yxghost.cn/attachment/25_901_87c7966a9af4bfb.jpg" onload="if(this.width>'700')this.width='700';if(this.height>'700')this.height='700';" border=0> <BR><BR>羽化值根据图像的面积的大小和所选范围的大小而设定,我这里设定为1 <BR><B></B><BR><IMG onclick="if(this.width>=700) window.open('http://www.yxghost.cn/attachment/25_901_22ce061c45d28ec.jpg');" src="http://www.yxghost.cn/attachment/25_901_22ce061c45d28ec.jpg" onload="if(this.width>'700')this.width='700';if(this.height>'700')this.height='700';" border=0><BR>然后ctrl+j自动生成 图层1 <BR><B></B><BR><IMG onclick="if(this.width>=700) window.open('http://www.yxghost.cn/attachment/25_901_80c27812da68397.jpg');" src="http://www.yxghost.cn/attachment/25_901_80c27812da68397.jpg" onload="if(this.width>'700')this.width='700';if(this.height>'700')this.height='700';" border=0><BR><BR>我将 图层1 改为“人物主体”,目的为后来的另外几种抠图备用,使大家能一目了然。<BR><B></B><BR><IMG onclick="if(this.width>=700) window.open('http://www.yxghost.cn/attachment/25_901_11dfe3500c0f3a3.jpg');" src="http://www.yxghost.cn/attachment/25_901_11dfe3500c0f3a3.jpg" onload="if(this.width>'700')this.width='700';if(this.height>'700')this.height='700';" border=0> <BR><BR>关闭人物主体前的眼睛,选中背景层,回到通道。<BR>大家注意看,蓝色通道的背景很干净,呈现单一的灰白。那么蓝通道就可以利用了。<BR><B></B><BR><IMG onclick="if(this.width>=700) window.open('http://www.yxghost.cn/attachment/25_901_69277ea2ae73da7.jpg');" src="http://www.yxghost.cn/attachment/25_901_69277ea2ae73da7.jpg" width=700 onload="if(this.width>'700')this.width='700';if(this.height>'700')this.height='700';" border=0><BR><BR>将蓝通道拖到创建新通道图标按钮处,得到一个新的“蓝 副本”通道,如图所示:<BR><B></B><BR><IMG onclick="if(this.width>=700) window.open('http://www.yxghost.cn/attachment/25_901_e9759de585dd28f.jpg');" src="http://www.yxghost.cn/attachment/25_901_e9759de585dd28f.jpg" onload="if(this.width>'700')this.width='700';if(this.height>'700')this.height='700';" border=0><BR>ctrl+i将蓝副本通道反相,反相后,原来白的变黑,黑的变白了。 <BR>但由于原来白的部分不是纯白,当然反相后就不可能是纯黑了,为了将黑度增强,就必须要进行下一步的色阶调整了。<BR> <B></B><BR><IMG onclick="if(this.width>=700) window.open('http://www.yxghost.cn/attachment/25_901_a7e25cd4f9f06ec.jpg');" src="http://www.yxghost.cn/attachment/25_901_a7e25cd4f9f06ec.jpg" onload="if(this.width>'700')this.width='700';if(this.height>'700')this.height='700';" border=0><BR>ctrl+L 色阶面版跳出来了<BR><B></B><BR><IMG onclick="if(this.width>=700) window.open('http://www.yxghost.cn/attachment/25_901_70c2a722ff5991c.jpg');" src="http://www.yxghost.cn/attachment/25_901_70c2a722ff5991c.jpg" onload="if(this.width>'700')this.width='700';if(this.height>'700')this.height='700';" border=0><BR>将中间的小三角往右拖,圆圈内的数值由原来的1变为0.88了,蓝通道显得更黑了。<BR><B></B><BR><IMG onclick="if(this.width>=700) window.open('http://www.yxghost.cn/attachment/25_901_e6f76e34e5203fe.jpg');" src="http://www.yxghost.cn/attachment/25_901_e6f76e34e5203fe.jpg" onload="if(this.width>'700')this.width='700';if(this.height>'700')this.height='700';" border=0><BR>按住ctrl 用鼠标点击“蓝 副本”通道,蚂蚁线出现了,现在的状态为选取了白色区域,我们要的就是这个白色选区了。<BR><B></B><BR><IMG onclick="if(this.width>=700) window.open('http://www.yxghost.cn/attachment/25_901_3fedb2a412b72e2.jpg');" src="http://www.yxghost.cn/attachment/25_901_3fedb2a412b72e2.jpg" onload="if(this.width>'700')this.width='700';if(this.height>'700')this.height='700';" border=0><BR>不要取消蚂蚁线,回到背景层<BR><B></B><BR><IMG onclick="if(this.width>=700) window.open('http://www.yxghost.cn/attachment/25_901_1c7757ffe8587fa.jpg');" src="http://www.yxghost.cn/attachment/25_901_1c7757ffe8587fa.jpg" onload="if(this.width>'700')this.width='700';if(this.height>'700')this.height='700';" border=0> <BR>ctrl+j自动生成“图层1”,隐藏背景层前的眼睛,效果如图所示:<BR><B></B><BR><IMG onclick="if(this.width>=700) window.open('http://www.yxghost.cn/attachment/25_901_203b9ebfb17ac11.jpg');" src="http://www.yxghost.cn/attachment/25_901_203b9ebfb17ac11.jpg" onload="if(this.width>'700')this.width='700';if(this.height>'700')this.height='700';" border=0><BR>按住ctrl,用鼠标点击红圈内的按钮,在图层1的下方出现“图层2” ,随意填充一种黄色。如图所示:<BR><B></B><BR><IMG onclick="if(this.width>=700) window.open('http://www.yxghost.cn/attachment/25_901_5df7eb2b3e2568c.jpg');" src="http://www.yxghost.cn/attachment/25_901_5df7eb2b3e2568c.jpg" onload="if(this.width>'700')this.width='700';if(this.height>'700')this.height='700';" border=0><BR>大家看,头发边缘效果不好,显得有些灰白,用图层菜单——修边——移去白色杂边命令可清除掉。 ( 当然也可用“正片叠底”在后面的方法里我会用到的) <BR><B></B><BR><IMG onclick="if(this.width>=700) window.open('http://www.yxghost.cn/attachment/25_901_9e1a1849bcd657f.jpg');" src="http://www.yxghost.cn/attachment/25_901_9e1a1849bcd657f.jpg" onload="if(this.width>'700')this.width='700';if(this.height>'700')this.height='700';" border=0> <B></B><BR><IMG onclick="if(this.width>=700) window.open('http://www.yxghost.cn/attachment/25_901_a619246e3d89c86.jpg');" src="http://www.yxghost.cn/attachment/25_901_a619246e3d89c86.jpg" onload="if(this.width>'700')this.width='700';if(this.height>'700')this.height='700';" border=0><BR>大家看,发丝边缘现在很漂亮了<BR><B></B><BR><IMG onclick="if(this.width>=700) window.open('http://www.yxghost.cn/attachment/25_901_cf7531b0190e988.jpg');" src="http://www.yxghost.cn/attachment/25_901_cf7531b0190e988.jpg" onload="if(this.width>'700')this.width='700';if(this.height>'700')this.height='700';" border=0><BR>让人物主体层前的眼睛出现,该层为可见。大家看,现在总的效果是不是好看了呀!这种观察通道,选取可利用通道抠图到此完毕!<BR> <B></B><BR><IMG onclick="if(this.width>=700) window.open('http://www.yxghost.cn/attachment/25_901_b61e169d042d2e6.jpg');" src="http://www.yxghost.cn/attachment/25_901_b61e169d042d2e6.jpg" onload="if(this.width>'700')this.width='700';if(this.height>'700')this.height='700';" border=0></DIV>
|  电脑疯子 GHOST WIN7 X86 快速装机版202001
 电脑疯子 GHOST WIN7 X64 快速装机版202001
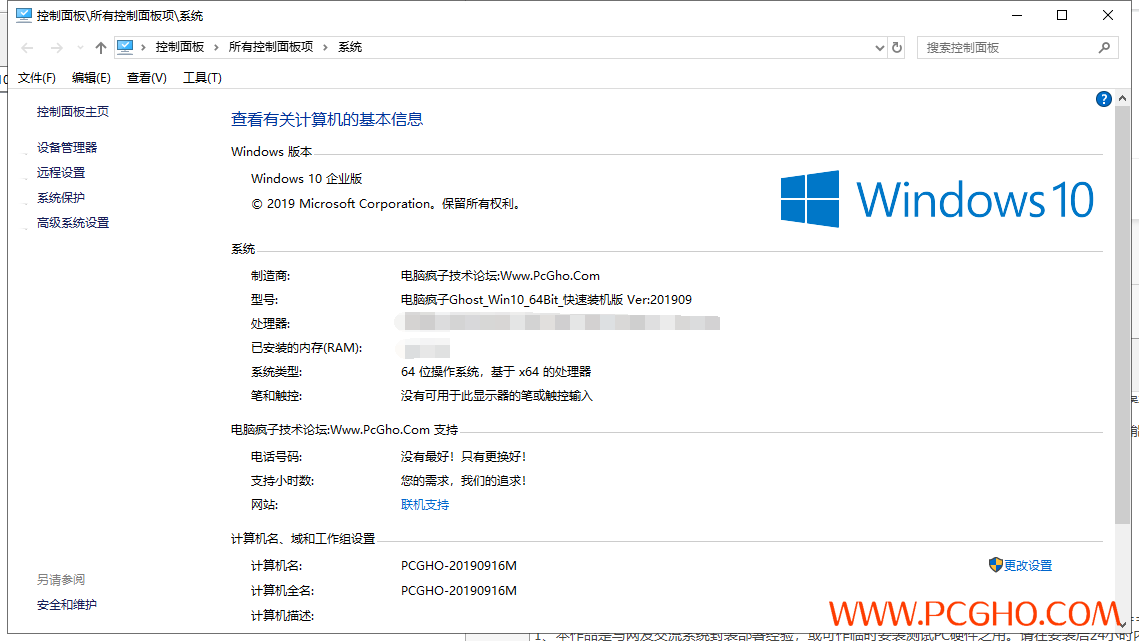
 电脑疯子技术论坛GHOST WIN10X64 快速装机
 电脑疯子技术论坛GHOST WIN10X86 快速装机
 电脑疯子GHOST WIN10X64 快速装机版201812
 电脑疯子 GHOST WIN7 X64 安全增强版20180
 电脑疯子技术论坛GHOST WIN10X64 安全增强
 电脑疯子技术论坛GHOST WIN10X64 快速装机
 电脑疯子母盘之:Win7_ultimate_32+64位纯
 电脑疯子win7_x64纯净母盘[VIP福利]【旗舰
 电脑疯子win7x86纯净母盘[VIP福利]【旗舰版
 电脑疯子GHOST XP VIP会员纯净版201901
 电脑疯子 GHOST WIN7 X64 快速装机版20201
 【全网视频免费看】盒子影视精选+手机影视
 电脑疯子母盘之:Windows_10_LTSC_2019【32
 电脑疯子 GHOST WINDOWS7 X64 快速装机版20
 电脑疯子GHOST WIN10X64 VIP纯净版201901
 【2】全网影视VIP视频免费看【投屏观看更爽
 电脑疯子母盘之:Windows7_Professional_32
 电脑疯子技术论坛GHOST WIN10X64 VIP纯情版
 微软常用运行库合集 v2019.07.23(32&64位)
 WinRAR 5.71 简体中文零售特别版