电脑疯子 GHOST WIN7 X64 快速装机版202001
 电脑疯子技术论坛GHOST WIN10X64 快速装机
 电脑疯子 GHOST WIN7 X86 快速装机版202001
 电脑疯子技术论坛GHOST WIN10X86 快速装机
 电脑疯子GHOST WIN10X64 快速装机版201812
 电脑疯子 GHOST WIN7 X64 安全增强版20180
 电脑疯子技术论坛GHOST WIN10X64 安全增强
 电脑疯子技术论坛GHOST WIN10X64 快速装机
 电脑疯子母盘之:Win7_ultimate_32+64位纯
 电脑疯子win7_x64纯净母盘[VIP福利]【旗舰
 电脑疯子win7x86纯净母盘[VIP福利]【旗舰版
 电脑疯子GHOST XP VIP会员纯净版201901
 电脑疯子 GHOST WIN7 X64 快速装机版20201
 【全网视频免费看】盒子影视精选+手机影视
 电脑疯子母盘之:Windows_10_LTSC_2019【32
 电脑疯子 GHOST WINDOWS7 X64 快速装机版20
 电脑疯子GHOST WIN10X64 VIP纯净版201901
 【2】全网影视VIP视频免费看【投屏观看更爽
 电脑疯子母盘之:Windows7_Professional_32
 电脑疯子技术论坛GHOST WIN10X64 VIP纯情版
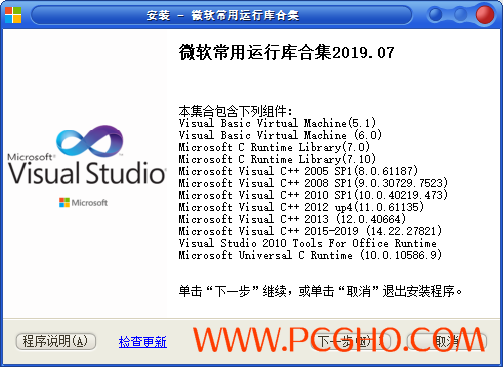 微软常用运行库合集 v2019.07.23(32&64位)
 WinRAR 5.71 简体中文零售特别版
| ||||||||||
手机版|小黑屋|VIP|电脑疯子技术论坛 ( Computer madman team )
GMT+8, 2024-5-3 12:09
Powered by Pcgho! X3.4
© 2008-2022 Pcgho Inc.